Here's a truth that surprises almost everyone: audiences will happily watch a slightly blurry video with great sound — but they'll bail in seconds on a crystal-clear video that sounds like it was recorded inside a wind tunnel. Sound is half your video. It's just the half nobody notices… until it's bad.
The good news is that big audio improvements come from a handful of simple habits, not a recording studio. Let's cover the ones that matter most.
Rule #1: Get the Mic Close
If you remember one thing, remember this: the closer the microphone is to the mouth, the better everything sounds. Think about a noisy party — you can't make out a whisper from across the room, but lean in close and it's crystal clear. Microphones "hear" the same way.
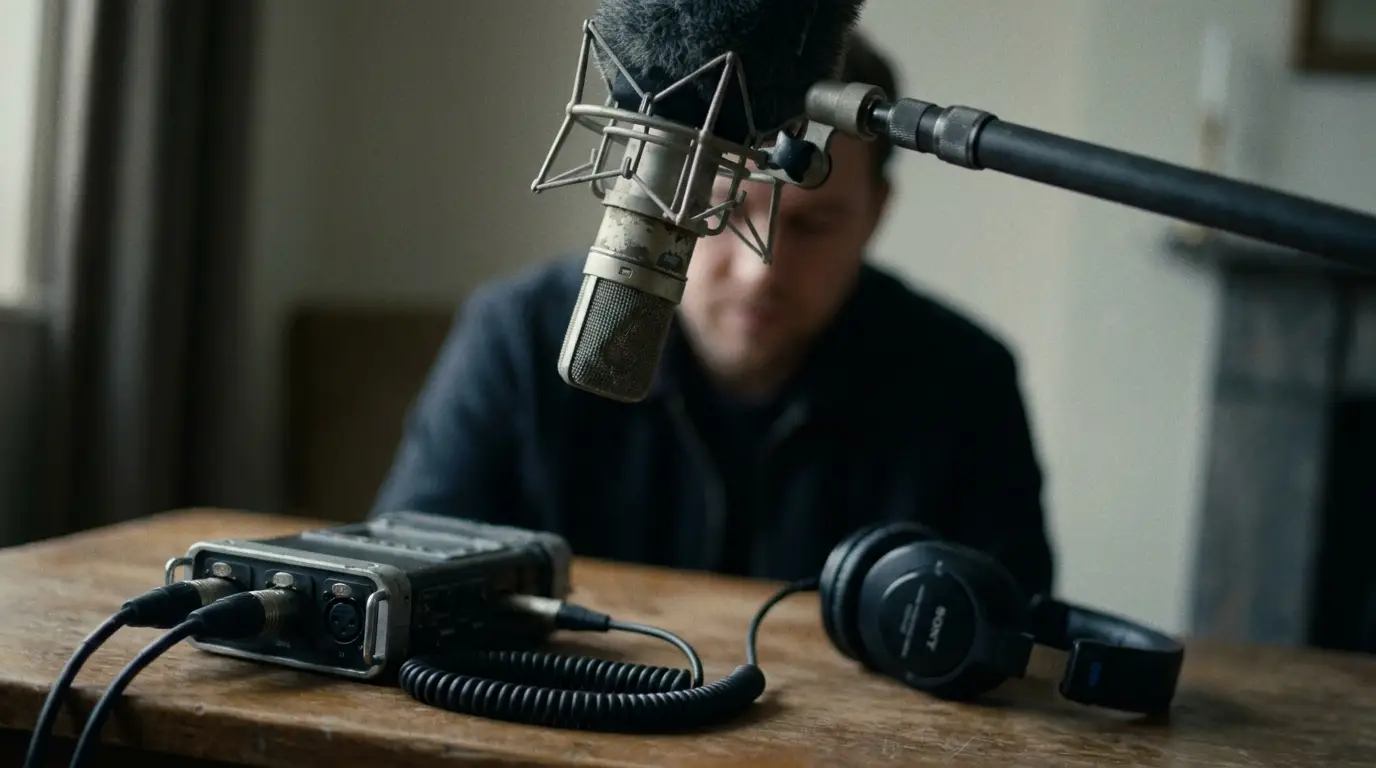
The built-in mic on your camera is almost always too far away — it grabs as much room as it does voice. Getting a dedicated mic close to your subject is the single biggest upgrade you can make, full stop.
Pick the Right Mic for the Job
You don't need a dozen microphones — you need the right one for the situation. For most business video, it comes down to two.
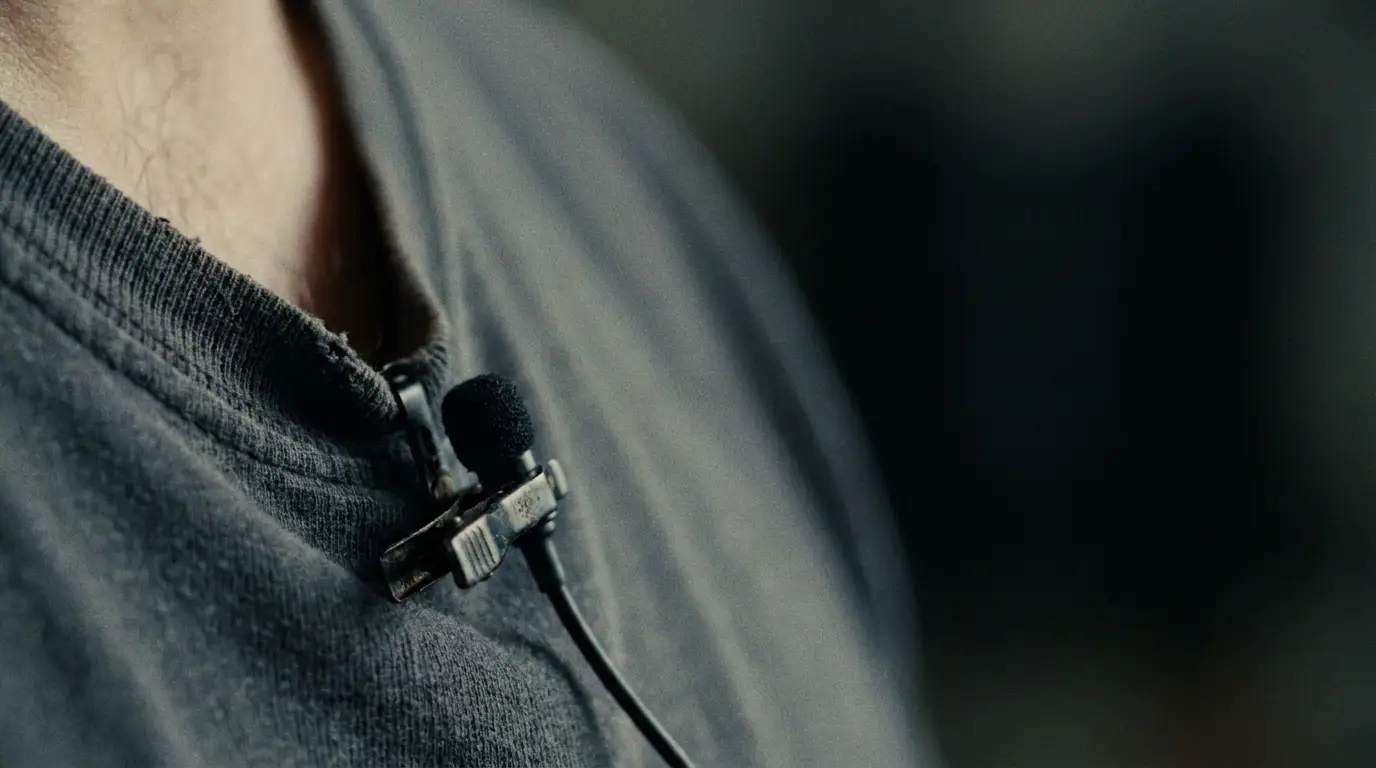
The lavalier (lav) mic is the little clip-on. Pinned about 6–8 inches below the chin, it rides along with your subject and delivers clean, consistent sound even if they move — perfect for interviews and presenters. Quick tip: have your subject give a thumbs-up under their chin to find the sweet spot for the clip.
The shotgun mic is the long one that lives on a boom pole, aimed at the mouth from just outside the frame (8–16 inches is the sweet spot). It's directional — it hears what it's pointed at and ignores the rest — which makes it the go-to in busier environments. Simple rule of thumb: lavs shine in quiet, controlled spaces; shotguns shine when there's a bit of chaos around.
Tame the Room
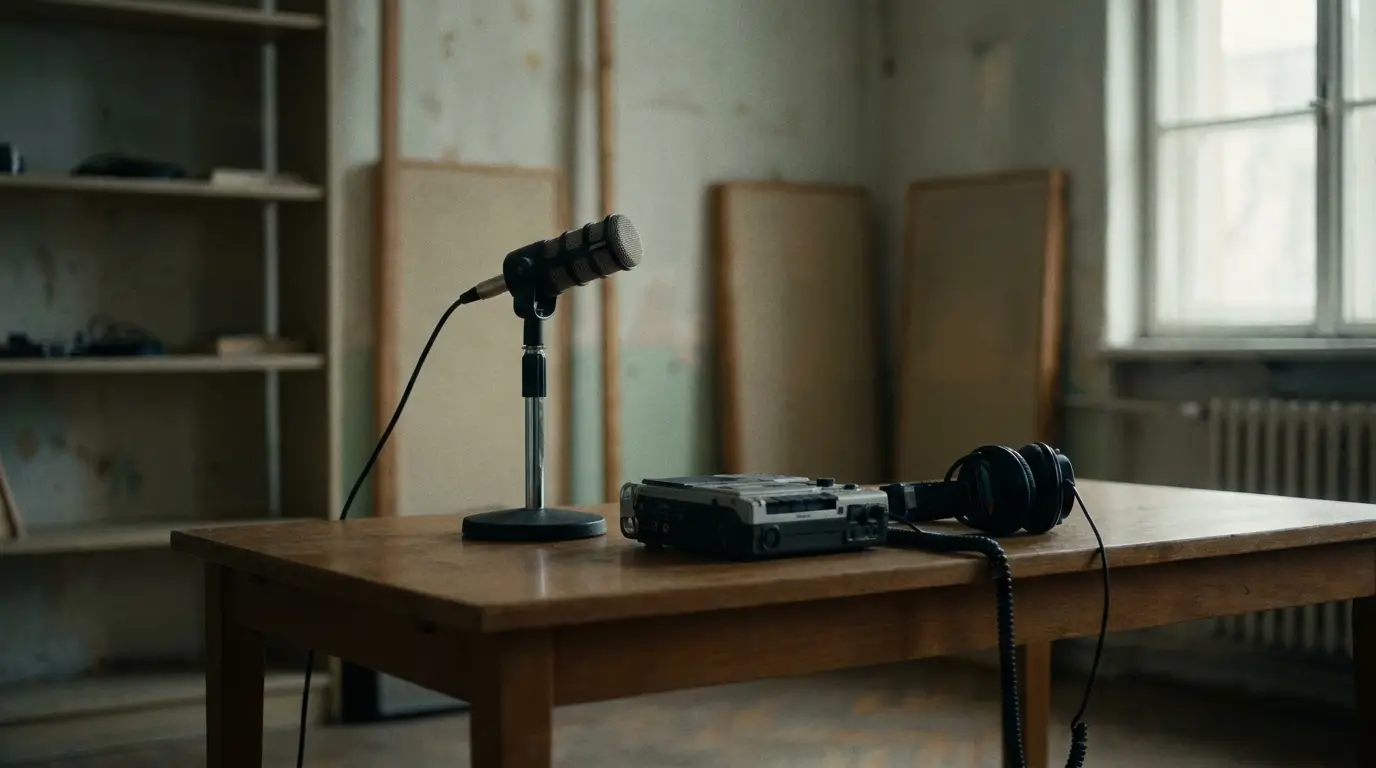
Ever notice how you sound like a rock star singing in the shower? That's echo — and it's the enemy of clean video audio. Hard, empty rooms with bare walls and tile floors bounce sound around like a racquetball court. Soft stuff soaks it up.
You don't need a treated studio. Record in a room with carpet, curtains, a couch, bookshelves — anything soft. Avoid the echoey kitchen or the empty conference room with the glass walls. If a space sounds boomy to your ears, it'll sound worse on camera.
Wear Your Headphones (Seriously)
This is the habit that separates amateurs from pros, and it costs nothing: actually listen while you record. You can't fix a problem you never heard. Plug headphones into your camera or recorder and monitor the whole time. That faint air-conditioner hum, the lav rubbing on a collar, the buzz from a nearby fridge — you'll catch it in the moment, when it's still fixable, instead of discovering it in the edit when it's not.
The Pro Secret: Record Room Tone
Before you wrap, do one quick thing the pros never skip: record 30–60 seconds of "room tone" — silence, with everyone still and nothing moving. Every room has its own quiet fingerprint, and that clean sample is gold in editing. It lets your editor smooth over cuts and reduce noise so the final audio sounds seamless. Ten seconds of effort on set, a huge payoff later.
Your 60-Second Audio Checklist
- Get the mic as close as you can (off-camera mic, not the built-in)
- Lav for quiet/controlled, shotgun for busier spaces
- Record in a soft, non-echoey room
- Headphones on — monitor while you roll
- Kill background noise: AC, fridge, fans, notifications
- Grab 30–60 seconds of room tone before you wrap
"Viewers forgive a soft image long before they forgive bad sound. Protect your audio and you protect your whole video."
Sound Like You Mean It
Clean audio is the invisible ingredient in every professional video. Nail these basics — close mic, right mic, soft room, headphones on, room tone in the can — and your videos will instantly feel more polished, even if nothing else changes.
Want every frame to sound as good as it looks? That's exactly the kind of detail we sweat for our clients. Let's talk about your project.
James is a creative professional and marketing leader with 20+ years across film, animation, broadcast production, and brand marketing. He founded MediaMarvels to help businesses tell their stories with a filmmaker's eye and a marketer's mindset.